Updated February 3, 2005
If
you follow these easy
steps, repairing spyware
problems on your Windows PC
is certainly possible. We are going to download three packages first,
install
them, run them for updates, go to safe mode and run them for repair.
Summary Procedure -
Follow these easy steps (the first time only):
1. Download Firefox
from MOZILLA.COM
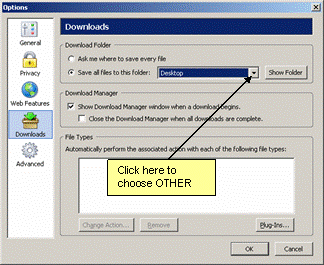
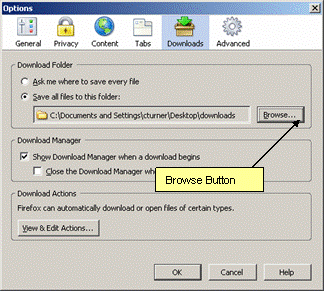
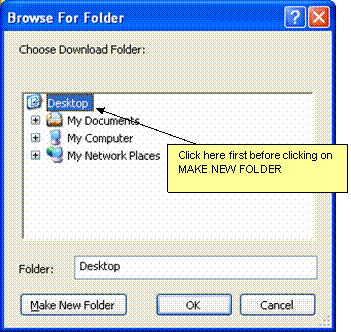
2. Use Firefox
and set up a
folder on the desktop to save all downloads
called DOWNLOADS
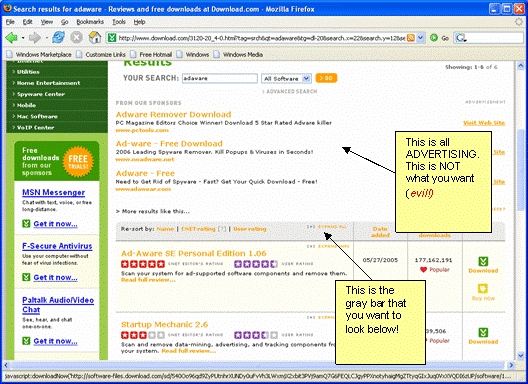
3. Using Firefox,
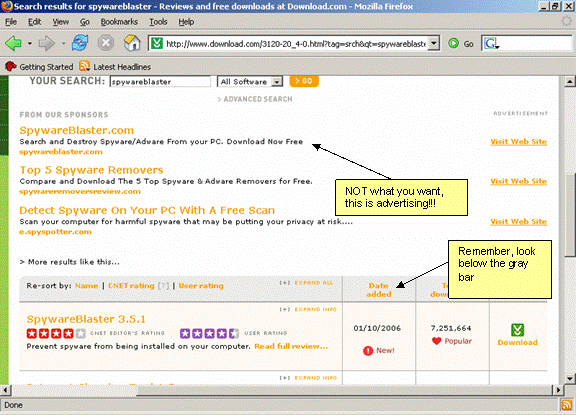
go to
download.com
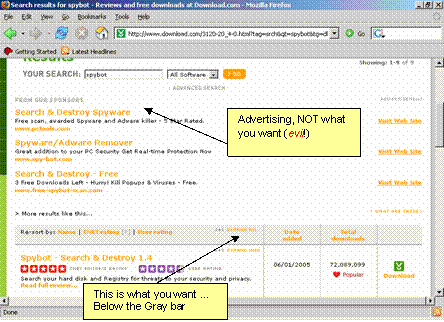
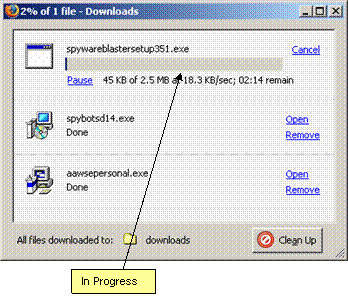
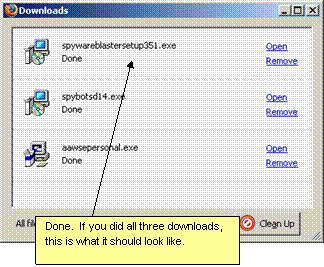
4. Download AD-AWARE, SPYBOT,
SPYWAREBLASTER
5. Install AD-AWARE. close it
without running the
program afterwards
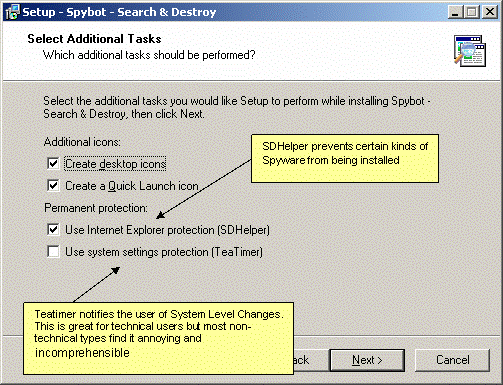
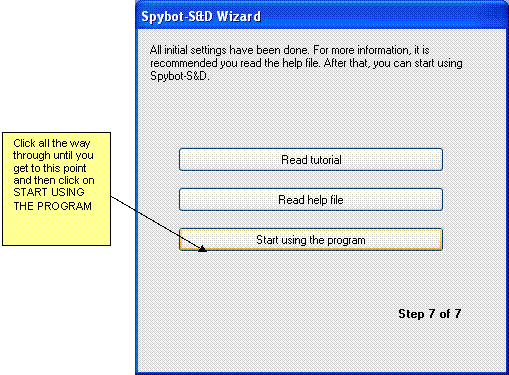
6. Install SPYBOT, close it without
running the program
afterwards
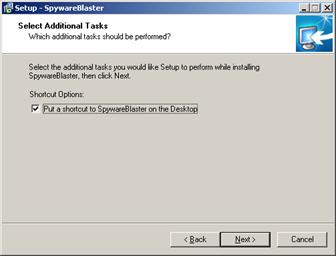
7. Install SPYWAREBLASTER and run
(this is the only
program that you do not need to run in Safe mode)
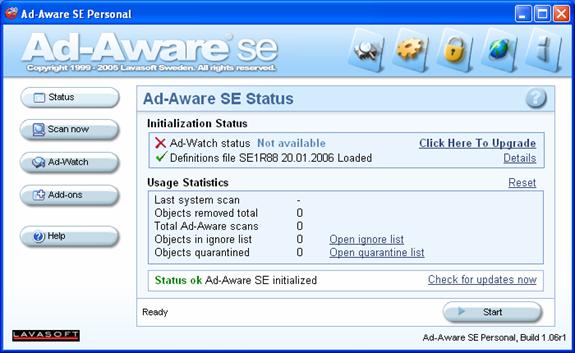
8. Run AD-AWARE for updates only
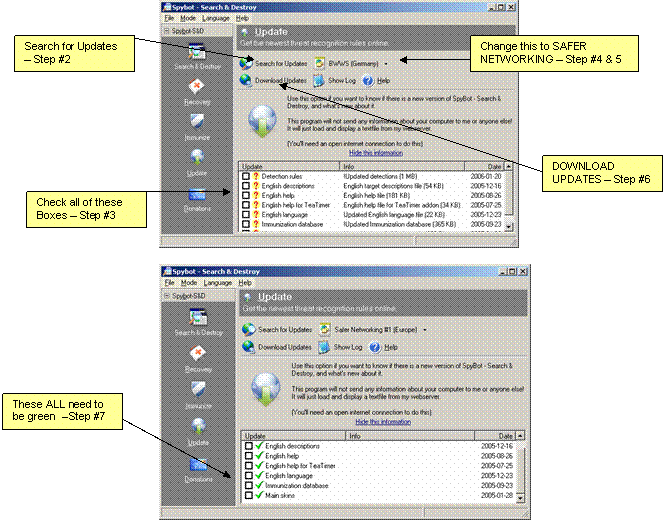
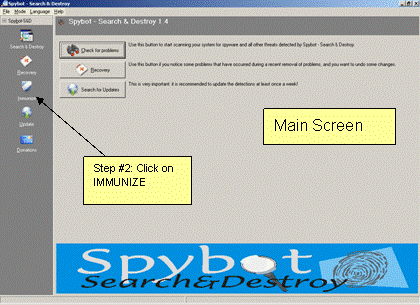
9. Run SPYBOT for updates only
10. Go to SAFE MODE
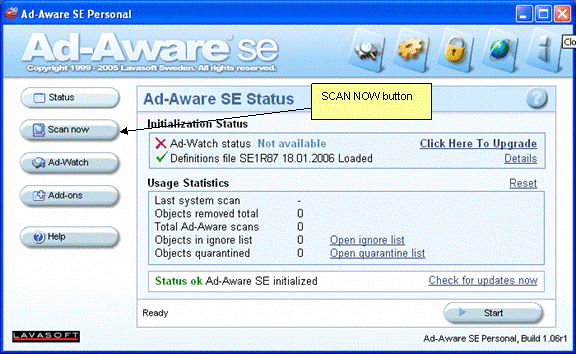
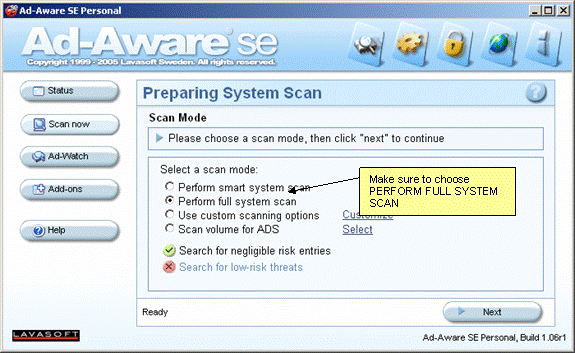
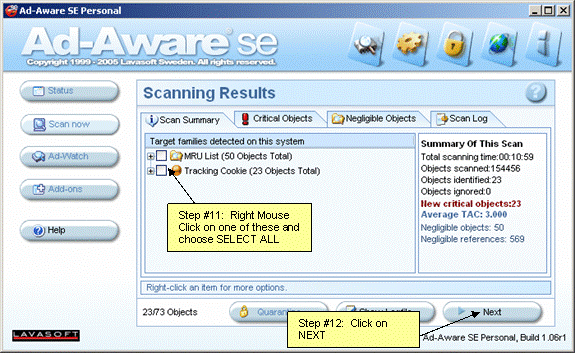
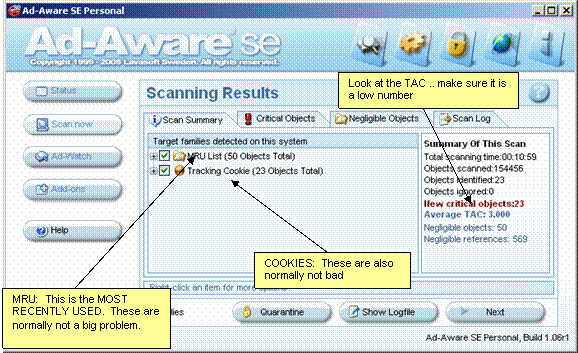
11. Run AD-AWARE for removal
12. Run SPYBOT for removal
Now,
once you have
everything installed and you did this once, follow this procedure
daily,
weekly, bi-weekly, etc..
1. Run SPYWAREBLASTER in
“normal” Mode
2. Run Ad-aware for updates only
(in normal mode)
3. Run Spybot
for updates only
(in normal mode)
4. Go to Safe mode
5. Run Ad-aware
6. Run Spybot
You
can run Spywareblaster
in Safe mode also if you really want to. It
doesn’t hurt anything.
Download
FIREFOX
The
first thing that you
want to do is to stop using IE.
So…
1. Using Internet Explorer (for the
last time,
hopefully)
2. Type MOZILLA.COM in the address
bar of your web
browser. We are going here because the Mozilla
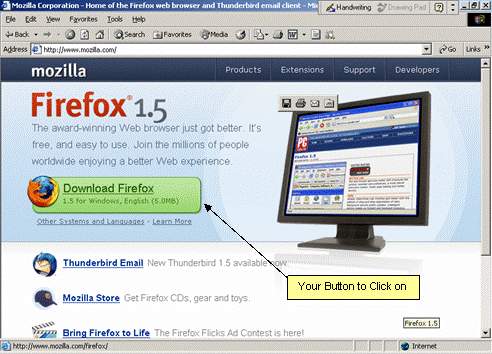
Foundation is the maker of FIREFOX, your new web-browser
3. Click on the BIG GREEN download
button for FIREFOX
4. Click on RUN and RUN again
5. Watch the percentage’s
slip away
6. Click on NEXT on the FIREFOX
SETUP SCREEN
7. Click on ACCEPT and NEXT
8. Click on STANDARD and then NEXT
9. On the SUMMARY SCREEN, click on
NEXT
10. Keep LAUNCH MOZILLA FIREFOX NOW
checked
11. Click on FINISH
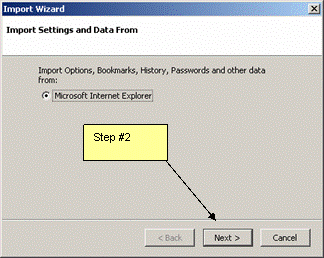
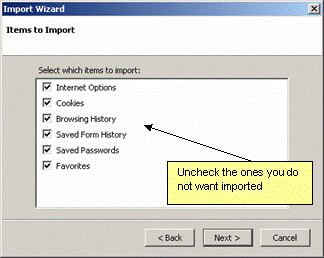
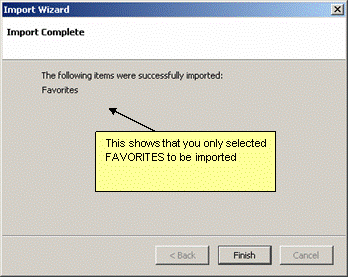
12. On the IMPORT WIZARD screen,
click on NEXT
13. On the FIEFOX HOME PAGE
SELECTION SCREEN, click on
NEXT
14. Click on FINISH / YES
15. Now close down IE
DOWNLOADING SPYWAREBLASTER

The
first time you run SpywareBlaster,
it will run through a series of help
screens to explain how to use and update the program Just follow along
and
click. (Click NEXT on the GETTING STARTED screen, click NEXT on the
KEEP UP TO
DATE screen, Click FINISH on the THANK YOU screen).
If this is the second time in, you can
simply double-click in the icon on the desktop in order for it to run. It will then look like the
following:
PARTS OF THE SCREEN FOR
SPYWAREBLASTER
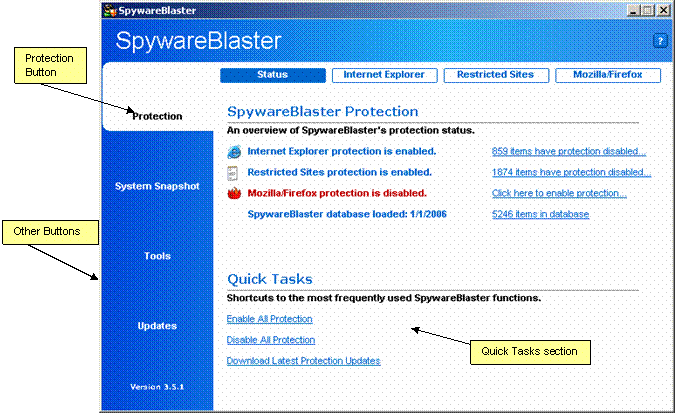
TO USE SPYWAREBLASTER:
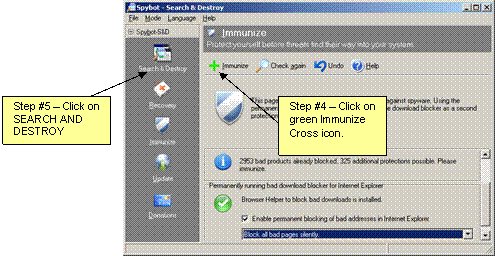
1. Under QUICK TASKS, click on
ENABLE ALL PROTECTION
2. Under QUICK TASKS, click on
DOWNLOAD LATEST
PROTECTION UPDATES
4. When it is done, on the left
hand pane, click on the
PROTECTION tab
5. Click on ENABLE ALL PROTECTION
again under QUICK
TASKS
6. Close down SPYWAREBLASTER
Roughly
one time a week, a
user should start this program, click “Download Latest
Protection Updates”,
then follow through by clicking the “Check for Updates
Button” in the updates
Window. Once updates have been downloaded, click the “Enable
All Protection”
button.
If the program is being used properly, there should always be zero
items with
protection disabled in each of the three categories. Every once in a
while, a spyware
program will add itself to SpywareBlaster’s
exceptions list, so care should be taken that nothing
is excepted from
protection. “Enable All Protection” removes items
from the exceptions list. A
for-pay version of SpywareBlaster
can update and add
protection automatically. Honestly, that’s OK, but spyware
is so pervasive that it’s probably better for a user to
regularly monitor his
or her computer by manually running and updating these programs.


By
the way, if this is not the
first time in, then this is how you check for updates.
1. Click on CHECK FOR UPDATES NOW
2. Click on CONNECT
3. Click on FINISH
The
updates install very
quickly if you have a fast internet connection. Dialup users will have
time for
a couple games of Solitaire at this point.
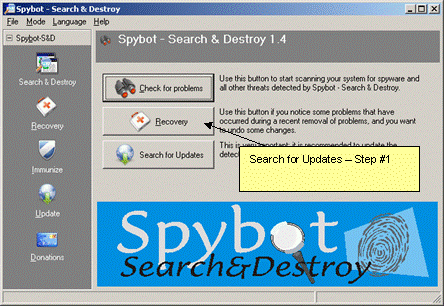

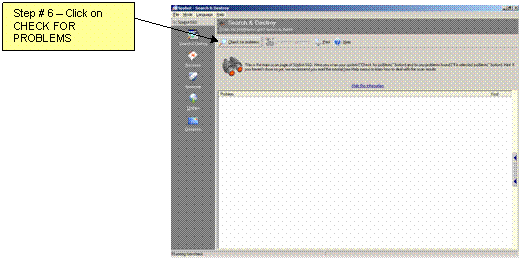

It
is not uncommon for Spybot
to say that it cannot remove a particular software
package until Windows is restarted. That is fine. The software will
still be
removed. It is also not uncommon for Spybot
to
continuously flag “DSO Exploit” as a problem on
your computer. The DSO Exploit
refers to a security problem with Internet Explorer that may or may not
actually be a problem on your computer. If you regularly install
Windows
Updates, it is not an issue on your PC.